
How to make Cake the Cat
Materials:
- Template: drive.google.com/open?id=0B4o9YHt16eOKMVYzSGhPazJPaXc
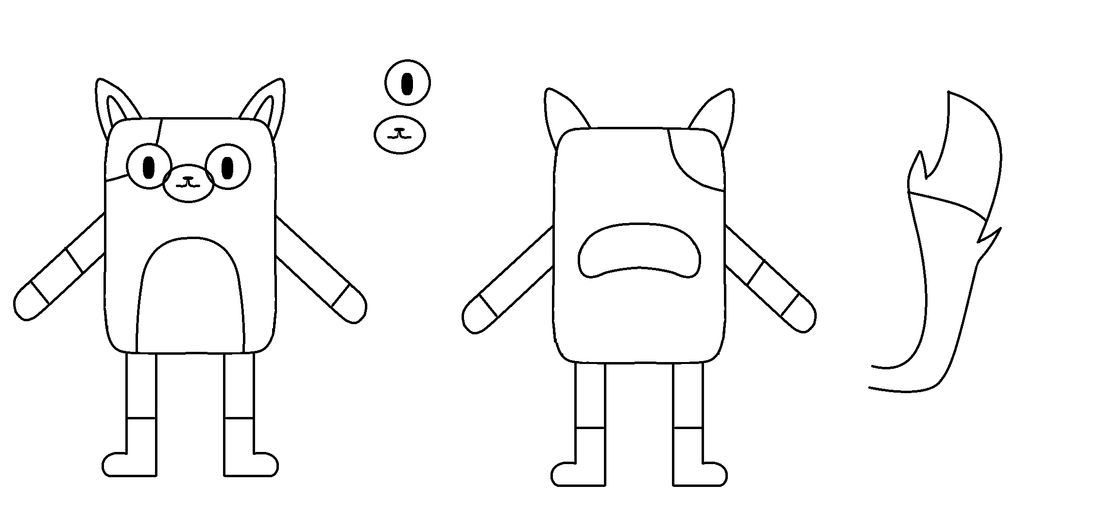
(for a black and white version of template)
- Fleece: Tan/orange, black, white, pink. ***
- Matching thread to fleece colours
- Stuffing
- Sewing needle, scissors, pins.
*** You can also use felt.
- Template: drive.google.com/open?id=0B4o9YHt16eOKMVYzSGhPazJPaXc
(for a black and white version of template)
- Fleece: Tan/orange, black, white, pink. ***
- Matching thread to fleece colours
- Stuffing
- Sewing needle, scissors, pins.
*** You can also use felt.
Here is how to make Cake the Cat:
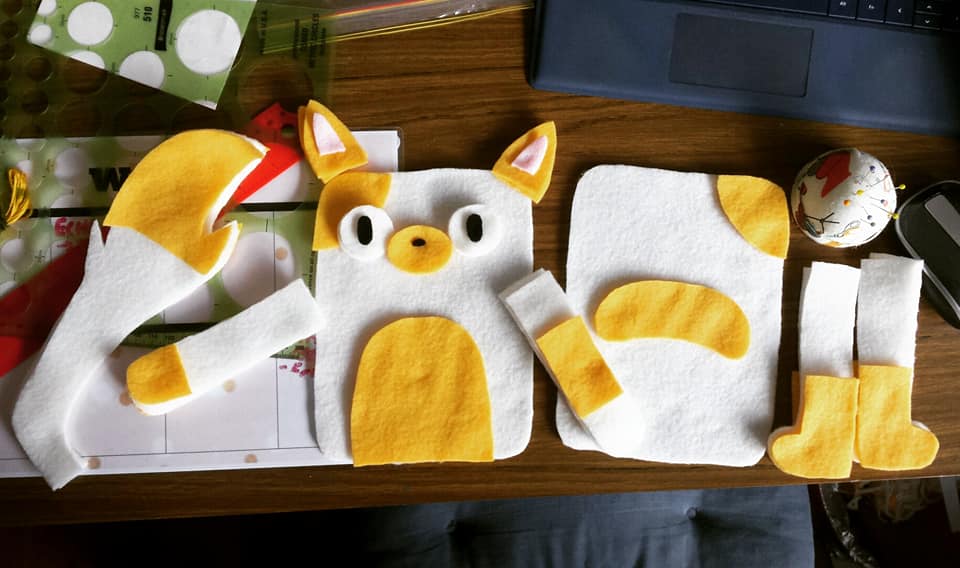
1. Cut out the template with the corresponding colours.
(note: cut 2 white eyes, 2 tan nose pieces, 1 pink piece).
2. Sew the pink ear piece on each ear. Put the right sides together and sew around using blanket stitch. Leave a gap and stuff it. Repeat for both ears. (attach at the end).
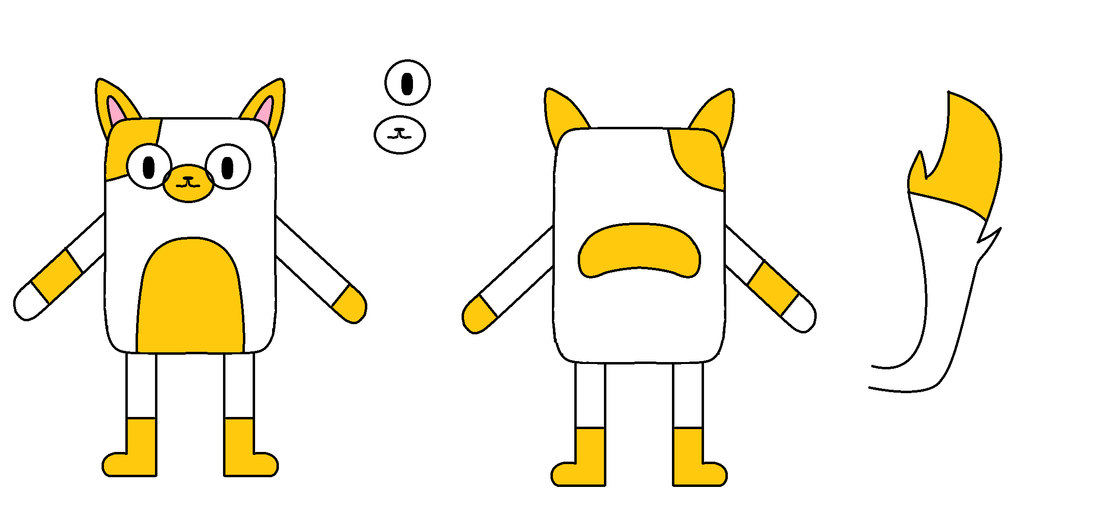
3. Running stitch the tan patch near the eye on the front white piece. Repeat it for the back piece.
4. Running stitch the tan patch to secure the tummy piece on the front and sew the tan curve piece on the back.
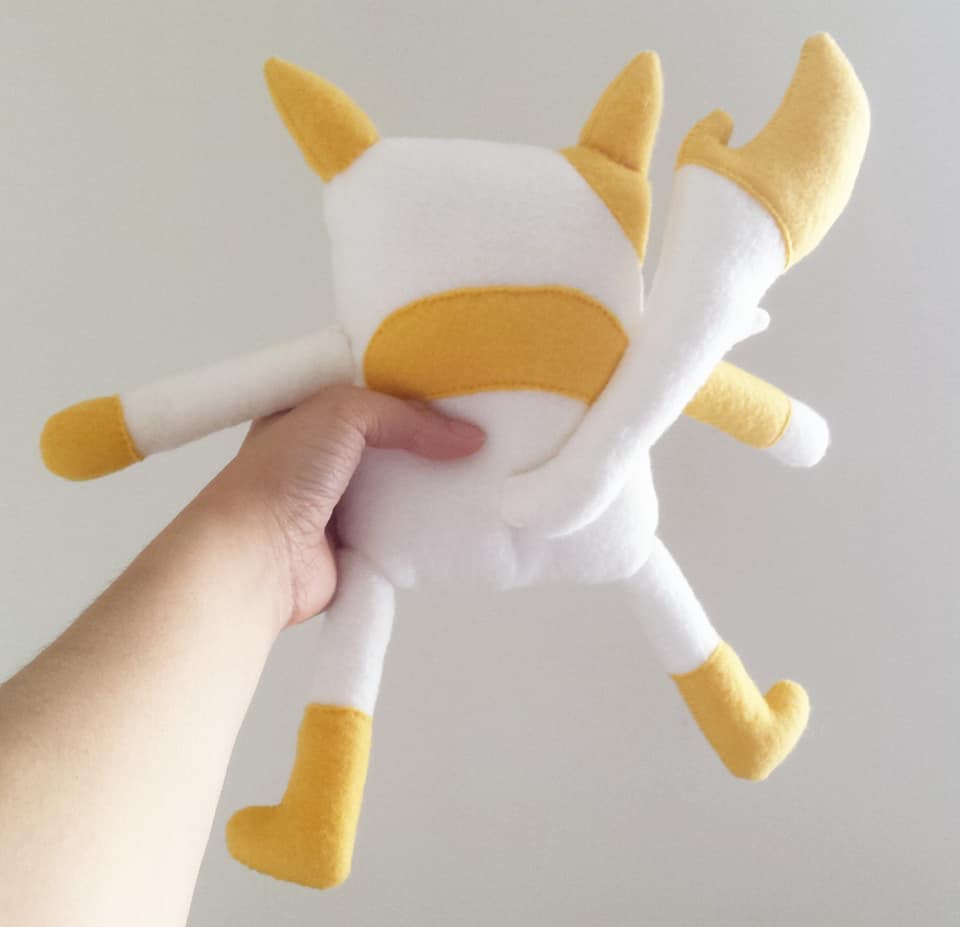
5. For the arms sew on the tan pieces as shown on the image above. Repeat it for each arm. Put the right sides together of the arms and sew, leave a hole to turn it inside out. Stuff it.
6. Repeat step 5 for the legs and the tail.
7. For the nose sew on a black piece using a running stitch. Sew on a mouth using back stitch with black thread. Put the tan nose right sides together and sew around, leaving a small hole to turn it inside out. Stuff it. Close it up with a ladder stitch. Attach to the white body piece using a ladder stitch.
8. Sew the two body pieces right sides together with a blanket stitch. Leave a hole. Stuff it. Close it up with a ladder stitch.
9. Attach the ears, arms, legs and tail using a ladder stitch.
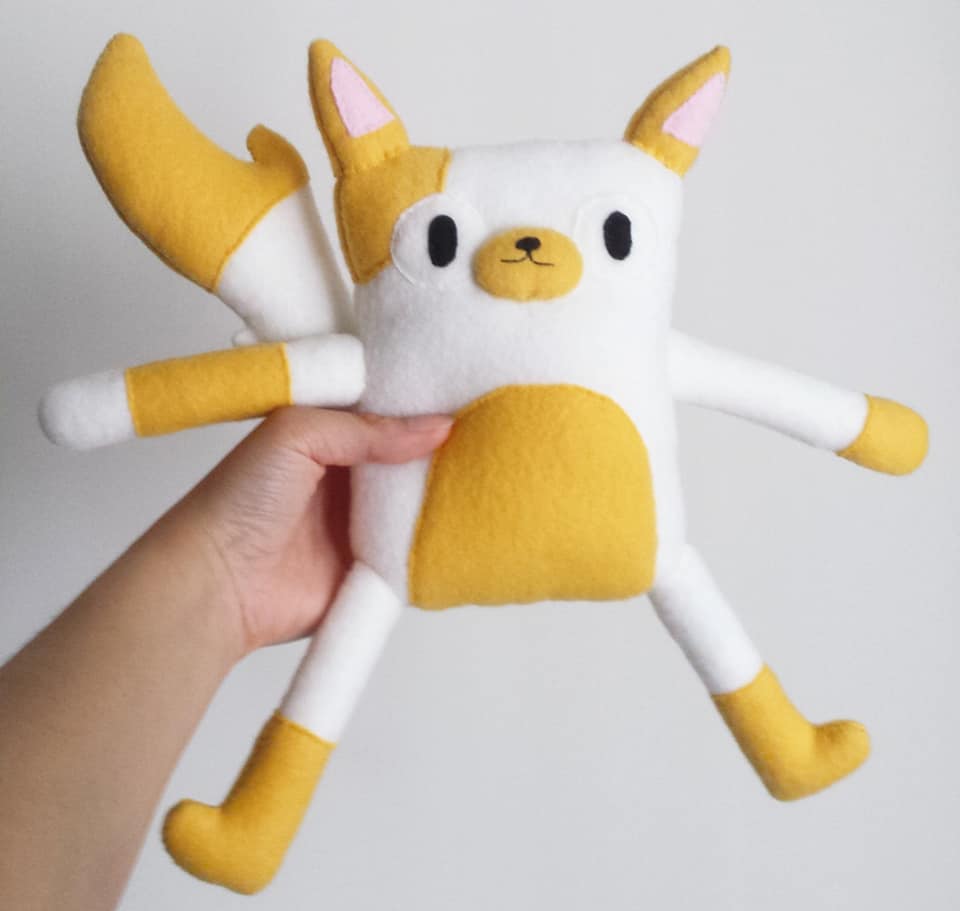
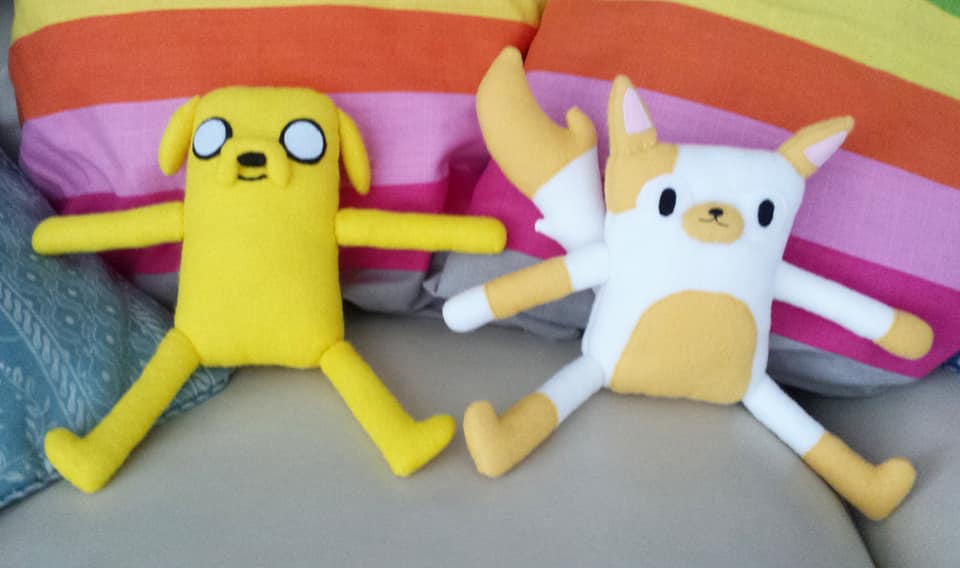
CONGRATULATIONS - You made Cake the Cat.
Stitches used: blanket stitch, running stitch, ladder stitch, back stitch.
Tips:
Which is the good side?
This is the side that you want to show in the final product. Placing the good sides hide the stitches when you turn your plush inside out.
Which stitch should I use?***
- Blanket stitch if I am sewing two sides together.
- Running stitch (up and down stitch) if I am sewing on eyes, or features such as a mouth.
- Ladder stitch if I am closing up the plush after putting stuffing inside.
- Back stitch if I am sewing on a mouth. It helps create a continuous line without any gaps inbetween.
***These are my preferences
If you make it, I would love to see pictures. Tag me on instagram:
www.instagram.com/pikachuah.pics/
Be Creative!
1. Cut out the template with the corresponding colours.
(note: cut 2 white eyes, 2 tan nose pieces, 1 pink piece).
2. Sew the pink ear piece on each ear. Put the right sides together and sew around using blanket stitch. Leave a gap and stuff it. Repeat for both ears. (attach at the end).
3. Running stitch the tan patch near the eye on the front white piece. Repeat it for the back piece.
4. Running stitch the tan patch to secure the tummy piece on the front and sew the tan curve piece on the back.
5. For the arms sew on the tan pieces as shown on the image above. Repeat it for each arm. Put the right sides together of the arms and sew, leave a hole to turn it inside out. Stuff it.
6. Repeat step 5 for the legs and the tail.
7. For the nose sew on a black piece using a running stitch. Sew on a mouth using back stitch with black thread. Put the tan nose right sides together and sew around, leaving a small hole to turn it inside out. Stuff it. Close it up with a ladder stitch. Attach to the white body piece using a ladder stitch.
8. Sew the two body pieces right sides together with a blanket stitch. Leave a hole. Stuff it. Close it up with a ladder stitch.
9. Attach the ears, arms, legs and tail using a ladder stitch.
CONGRATULATIONS - You made Cake the Cat.
Stitches used: blanket stitch, running stitch, ladder stitch, back stitch.
Tips:
Which is the good side?
This is the side that you want to show in the final product. Placing the good sides hide the stitches when you turn your plush inside out.
Which stitch should I use?***
- Blanket stitch if I am sewing two sides together.
- Running stitch (up and down stitch) if I am sewing on eyes, or features such as a mouth.
- Ladder stitch if I am closing up the plush after putting stuffing inside.
- Back stitch if I am sewing on a mouth. It helps create a continuous line without any gaps inbetween.
***These are my preferences
If you make it, I would love to see pictures. Tag me on instagram:
www.instagram.com/pikachuah.pics/
Be Creative!
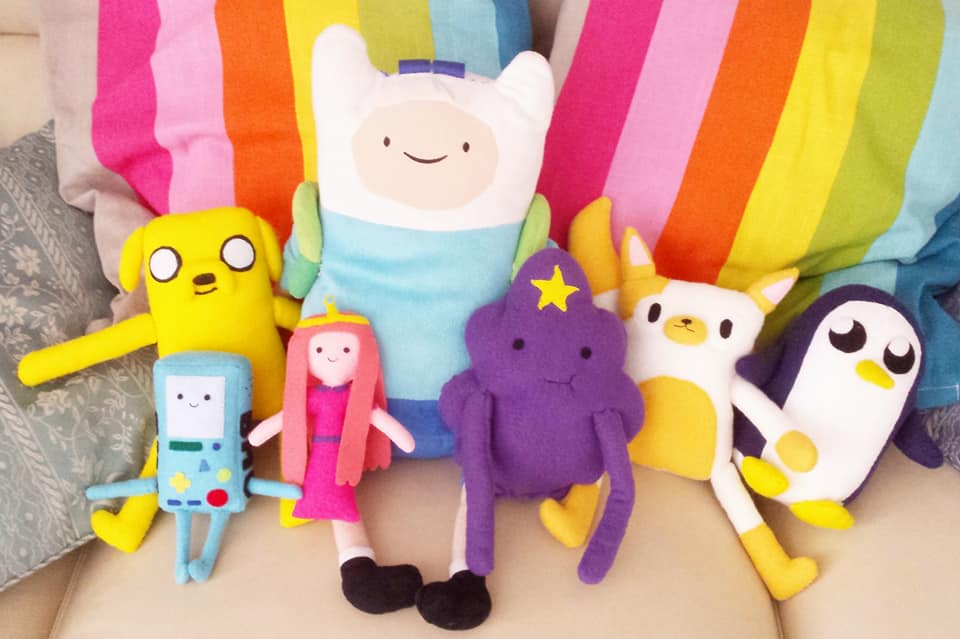
Note:
Lumpy Space Princess Tutorial - http://pikachuah97.weebly.com/lumpy-space-princess/how-to-make-lumpy-space-princess
Gunther Plush pattern - https://cholyknight.com/free-projects/
Jake the Dog donut plush -
http://pikachuah97.weebly.com/pusheen-cat-donut/making-a-pusheen-cat-donut
BMO pattern - https://drive.google.com/open?id=0B4o9YHt16eOKT2lsREhzUmVra00
