|
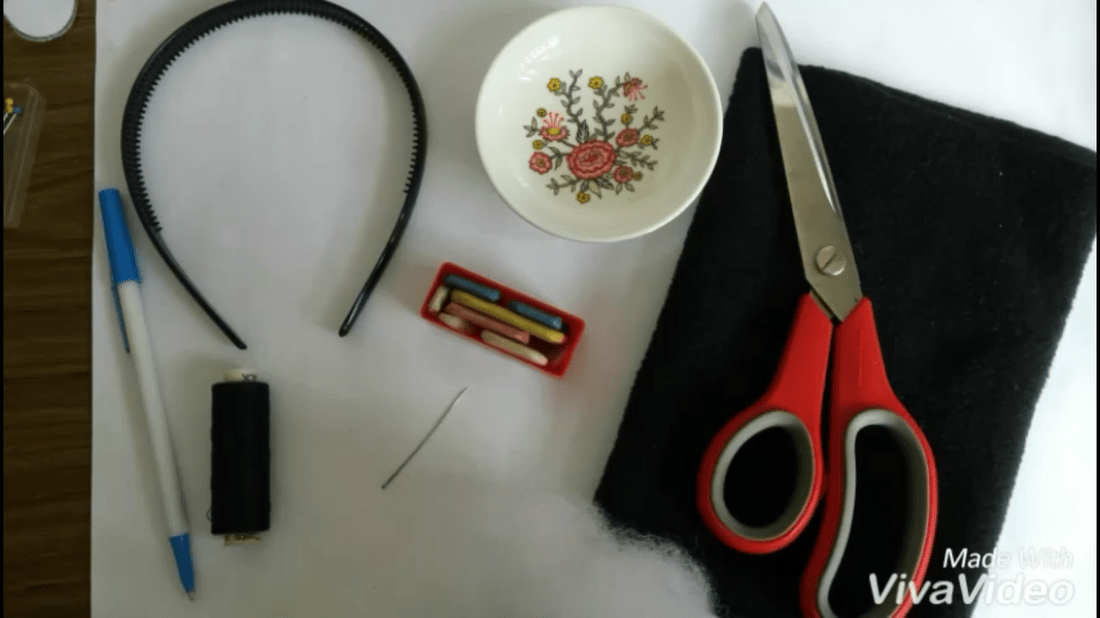
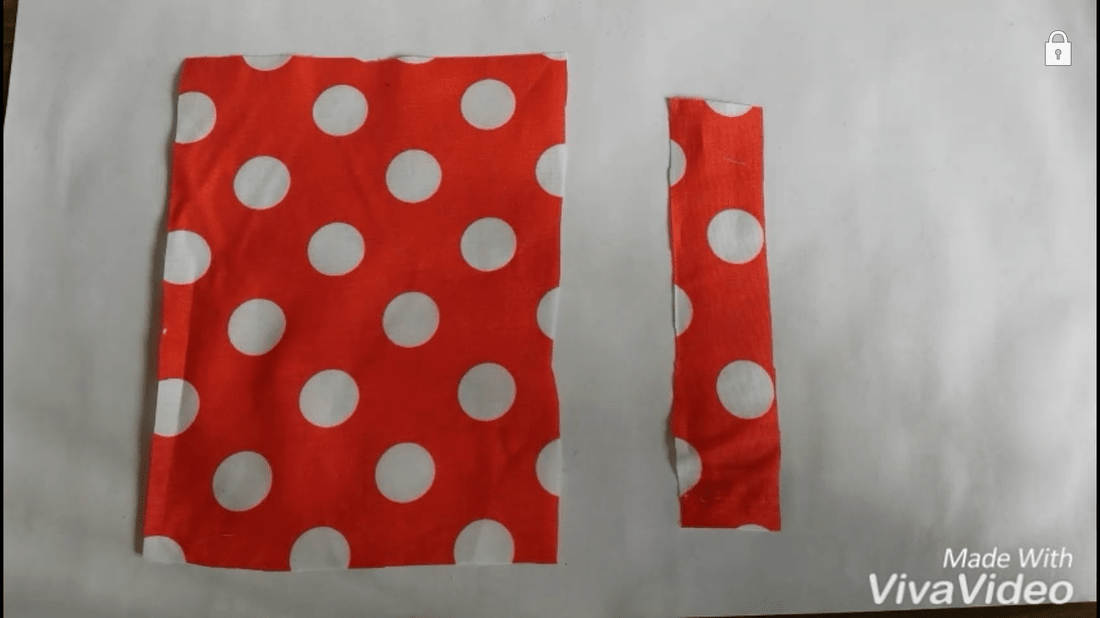
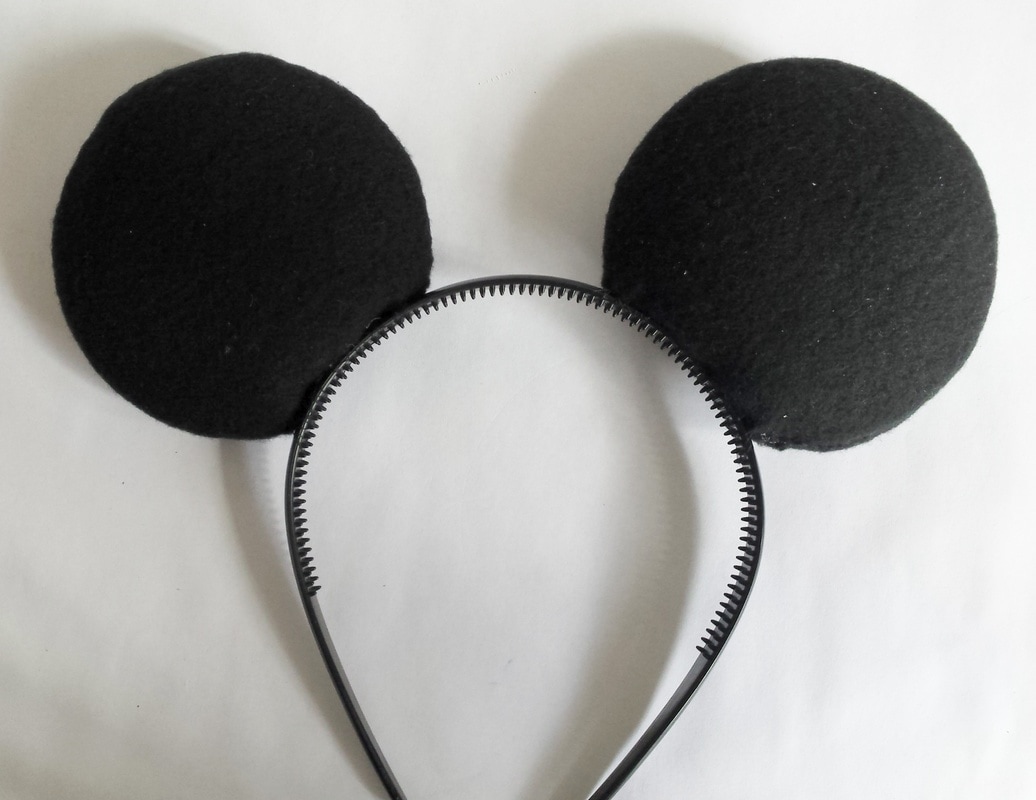
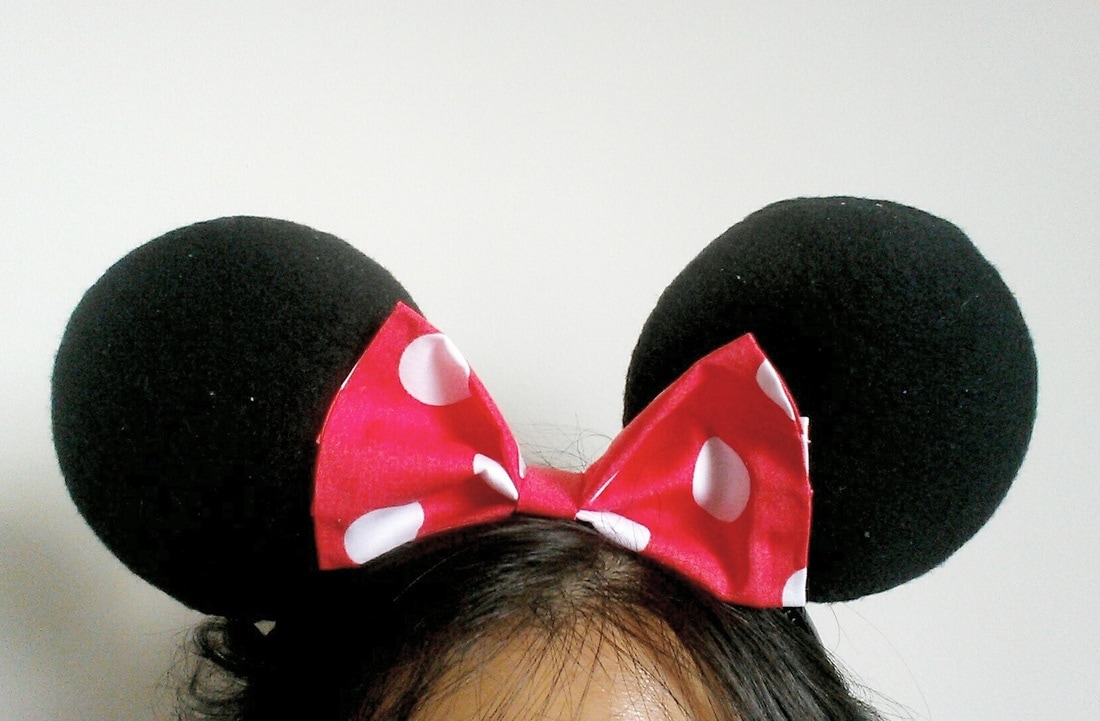
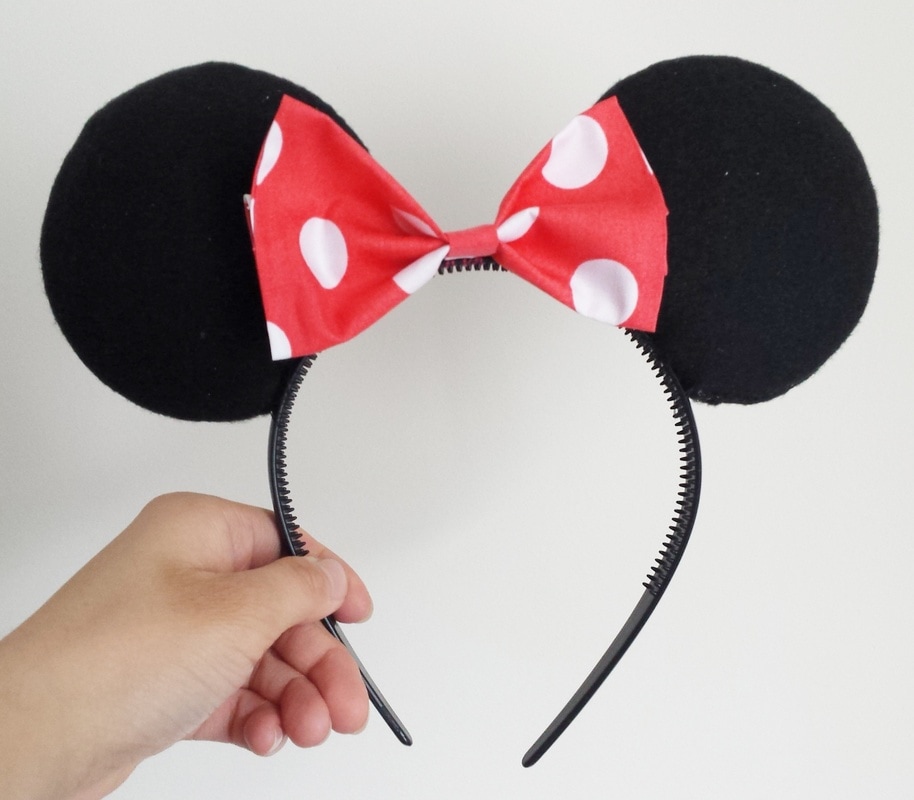
Materials: - Headband with teeth - Circular object (diameter: 9.5 cm) - Paper - Cardboard - Black Fleece - Stuffing - Red polka dot fabric (Minnie Mouse ears) - Fabric Glue - Basics: pen, scissors, tailor chalk, needle & thread Optional: using hot glue **this entire tutorial is hand sewn. I prefer hand sewing. Here is how to make the mouse ears: 1. Trace the circle template twice onto paper. Cut it out, 2. Place it behind the headband and mark where you want the ears to sit. 3. Cut the circles out and trace it onto cardboard. Cut it out. 4. Trace your circle template 4 times onto the black fleece and add seam allowance. 5. Using a blanket stitch, sew half way around the circle. 6. Turn the ear inside out. Place the cardboard inside and add stuffing. 7. Ladder stitch the ear closed. [Repeat steps 5-7 for the second ear] 8. Sew the ears to the headband using a whip stitch*. [Optional: Use a ladder stitch to give the ear a nicer finish.] IF YOU WANT MICKEY MOUSE EARS - YOU ARE FINISHED!!! For Minnie Mouse's bow: 9. Cut out a rectangular shape using the red polka dot fabric. 10. Glue the edges for a nice hem. 11. Fold the red polka dot fabric into thirds and glue. 12. Pinch the fabric in the middle and glue. 13. Cut a thin strip of red polka dot fabric. Fold it into thirds and glue. 14. Glue the thin strip to the cover the middle of the bow. 15. Sew/ Glue the bow to the headband. YOUR MINNIE MOUSE EARS ARE FINISHED!!! *My whip stitch goes through the ear and then under the headband and back through the ear. If you make it, I would love to see pictures. Tag me on instagram: https://www.instagram.com/pikachuah.pics/ Be Creative! If you are making this for an infant, here is a free template: - it is by Disney Jr. https://drive.google.com/open?id=0B4o9YHt16eOKdk1tZklzalA1Qk0
0 Comments
|
AuthorMy name is Cat and I love to hand sew plushies!!! I also love trying new things. ArchivesCategories |

 RSS Feed
