
|
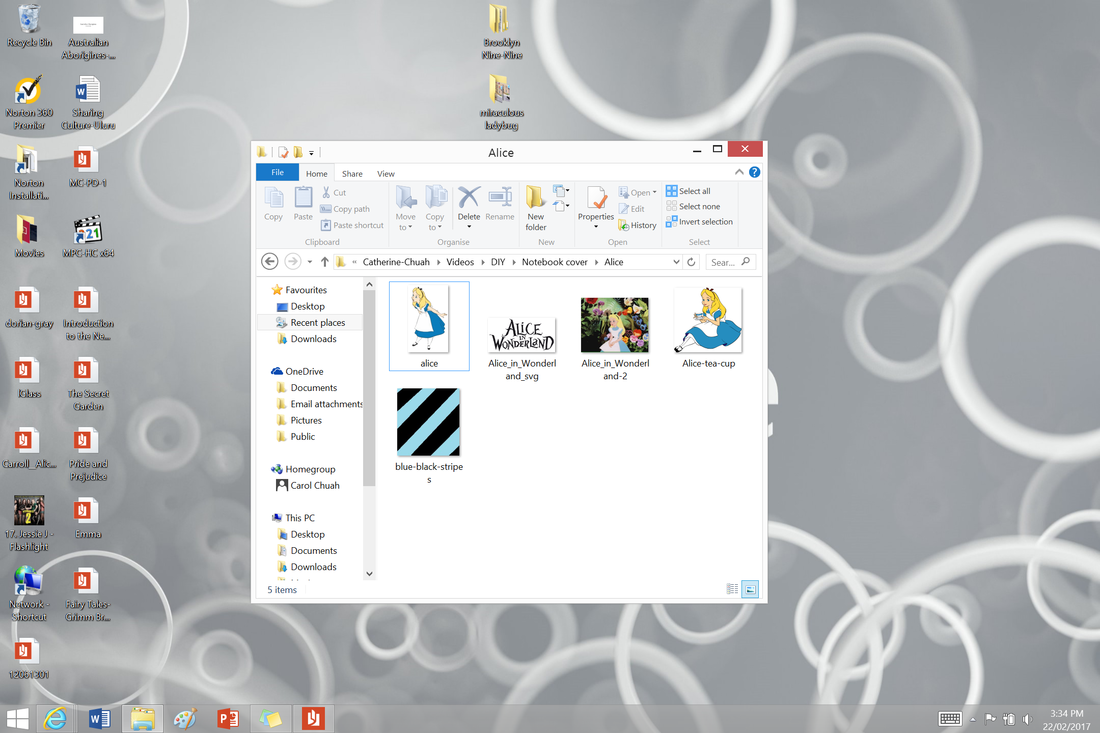
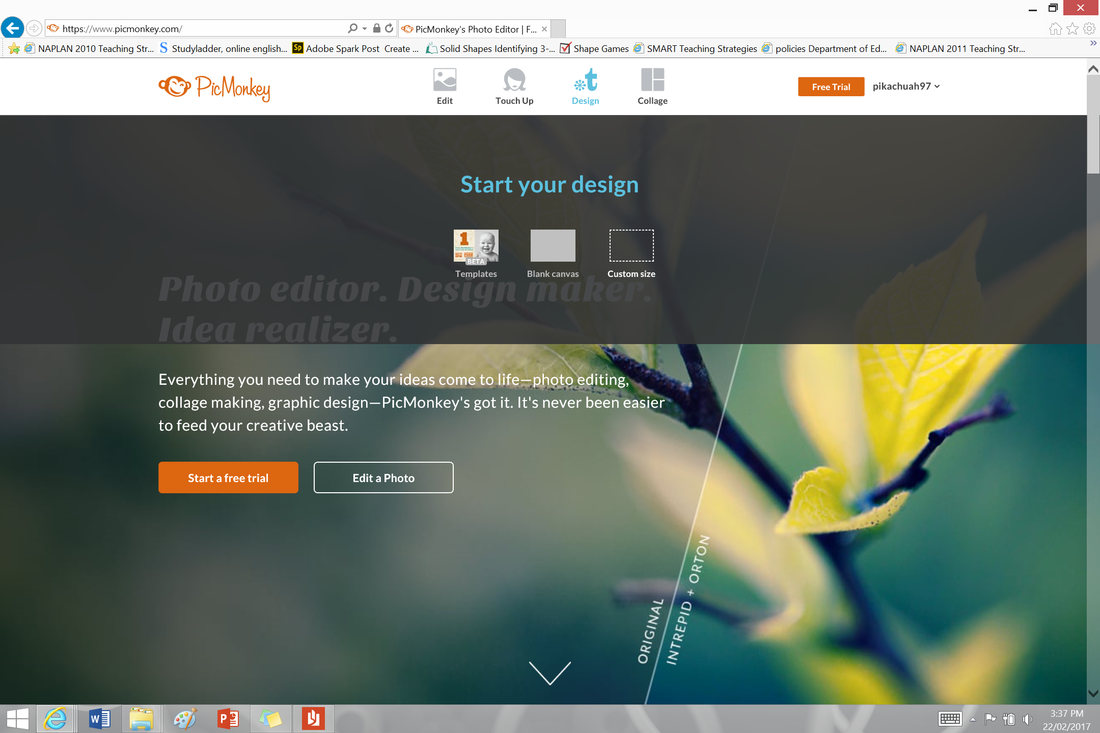
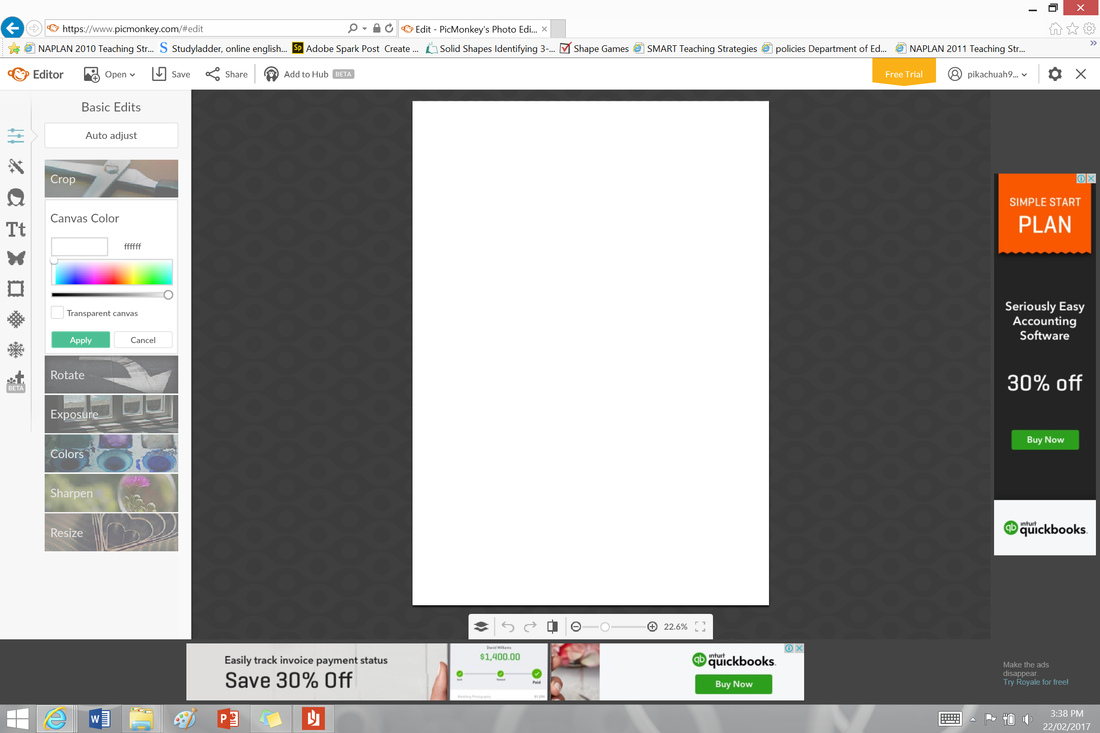
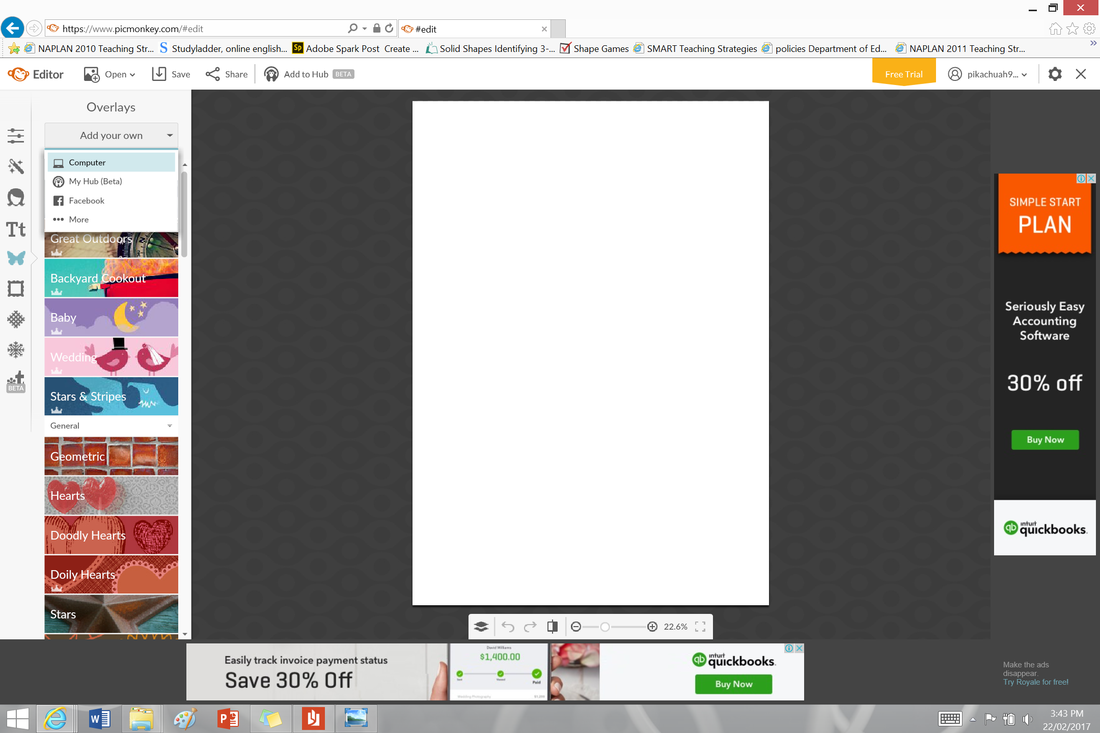
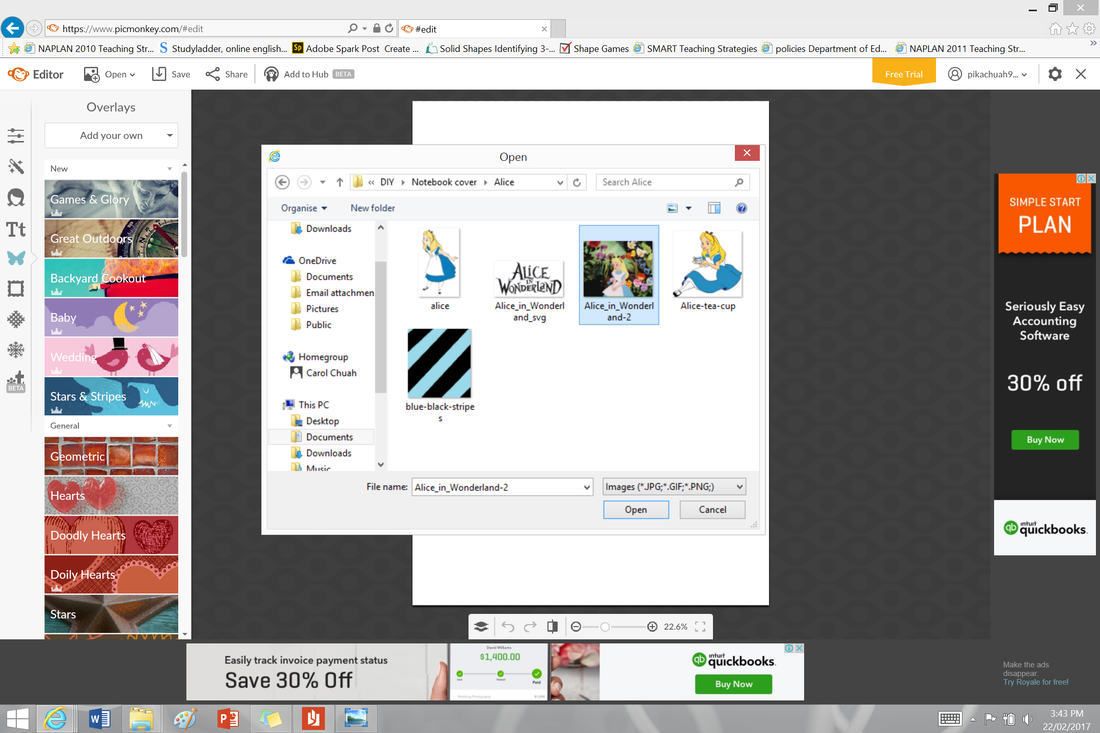
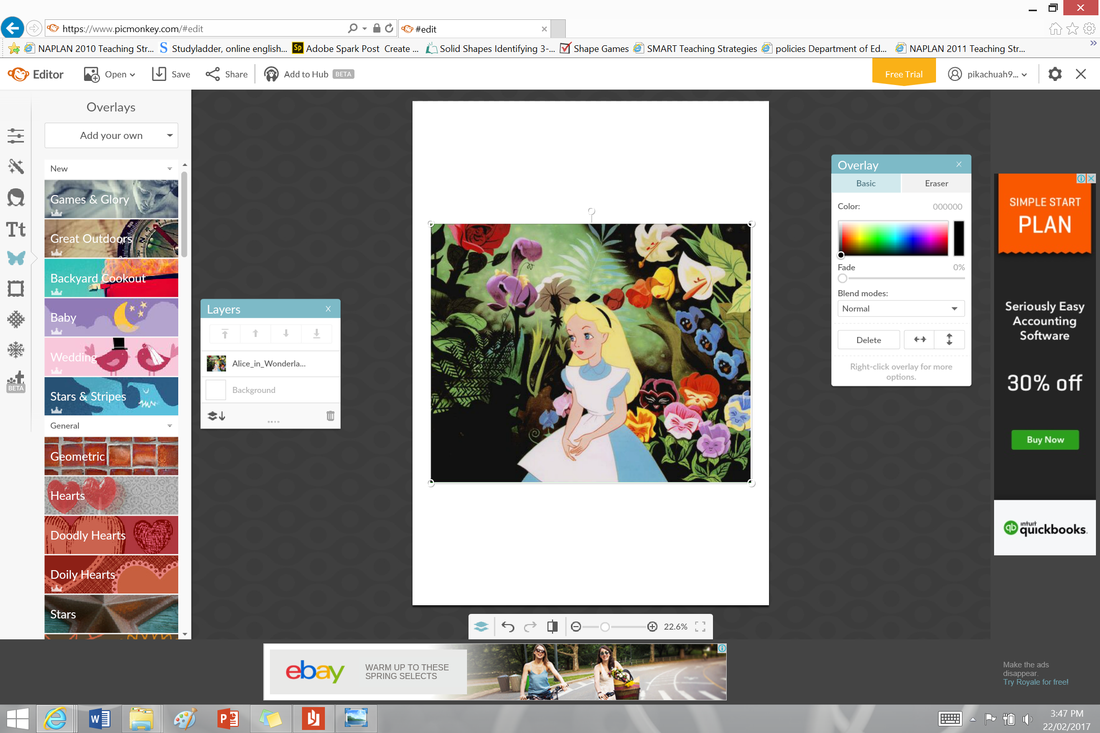
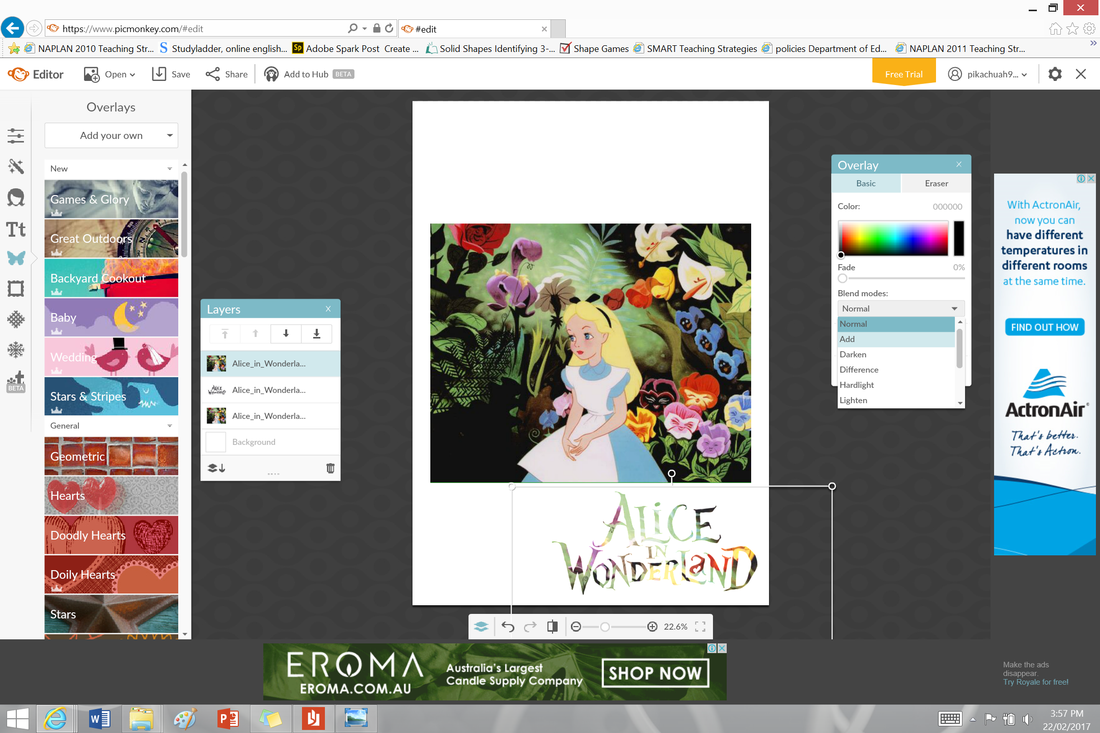
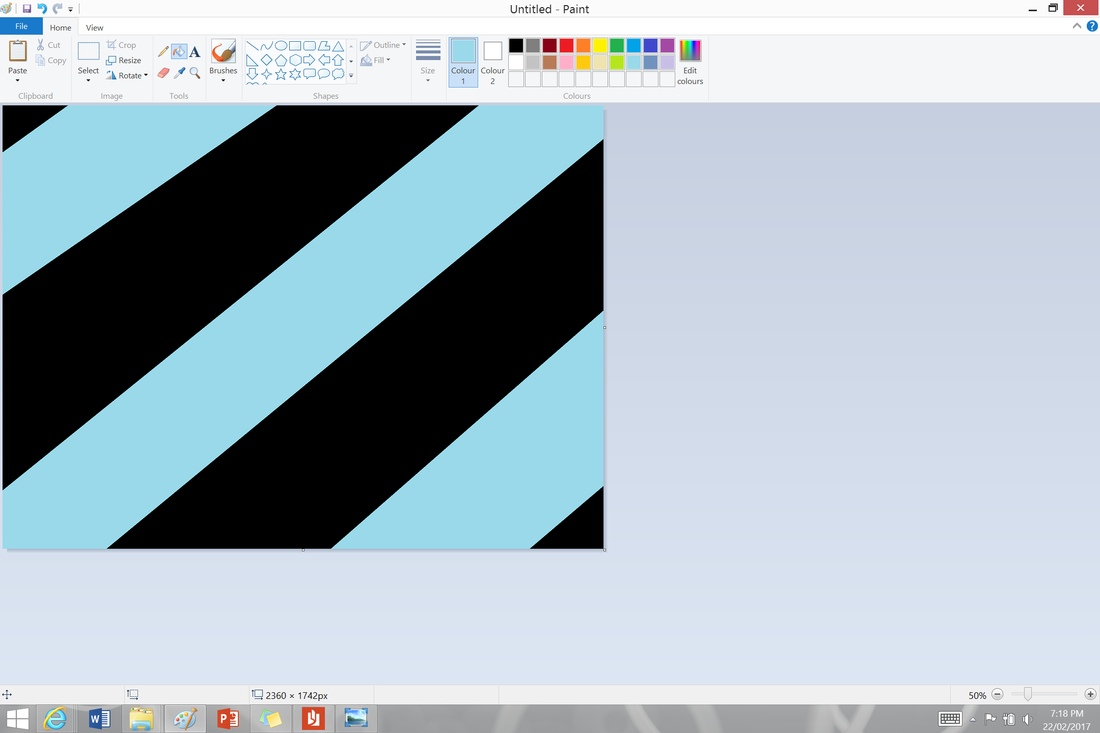
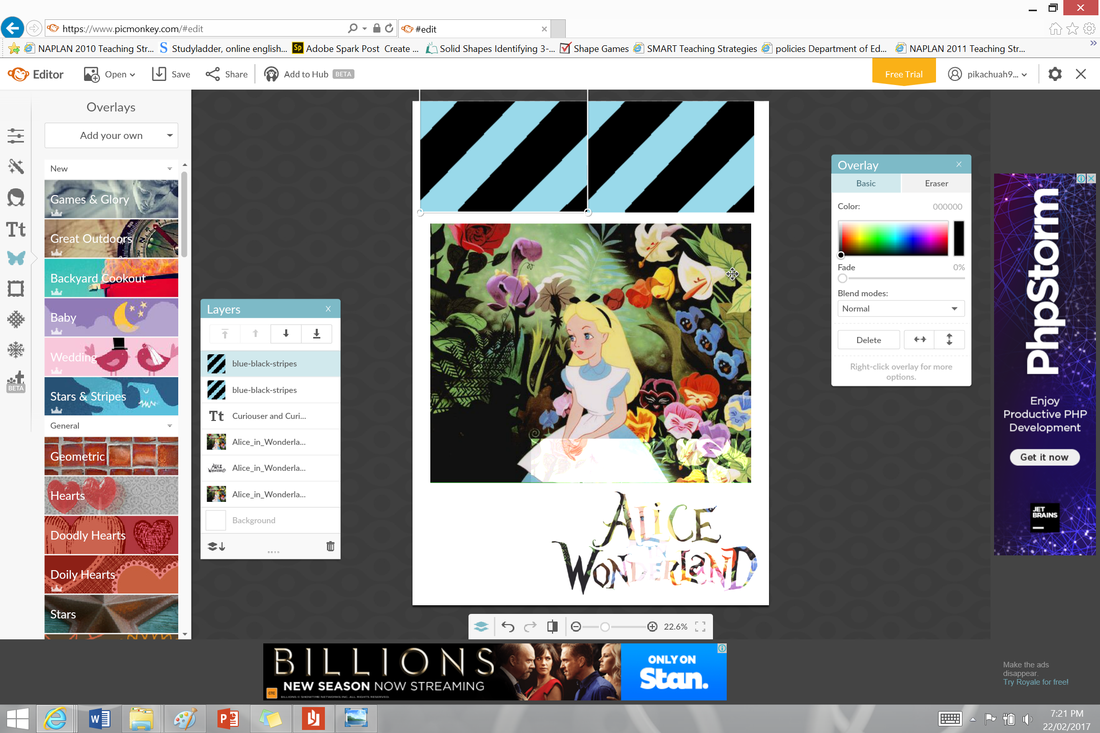
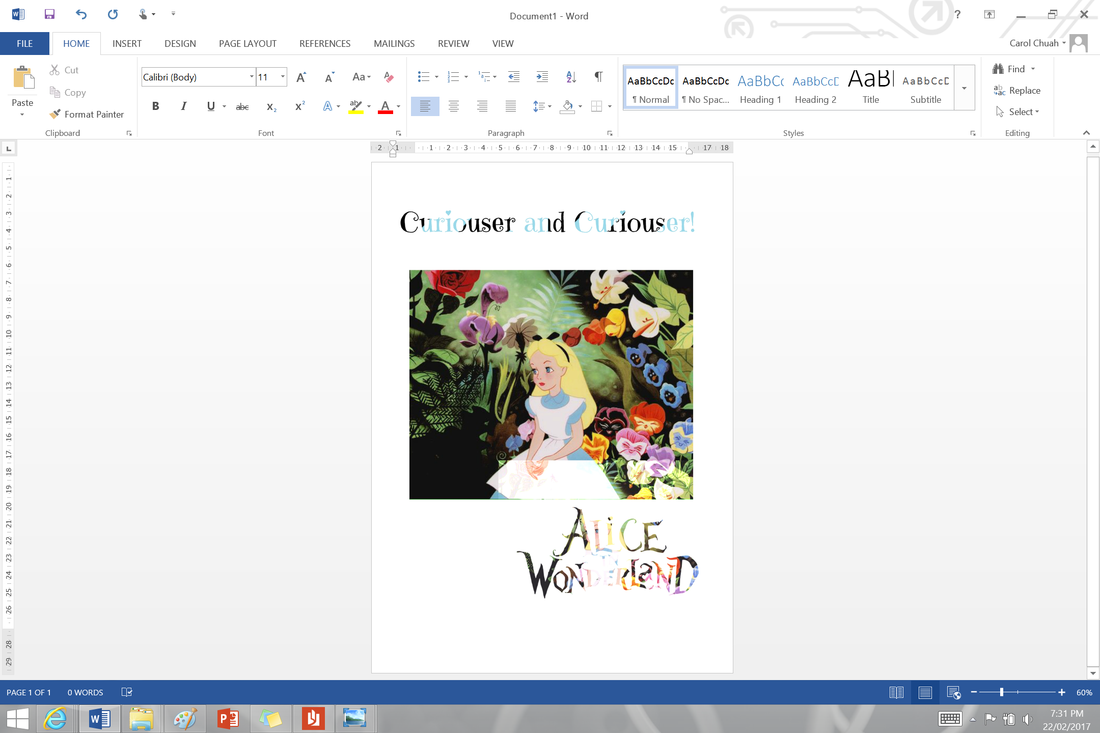
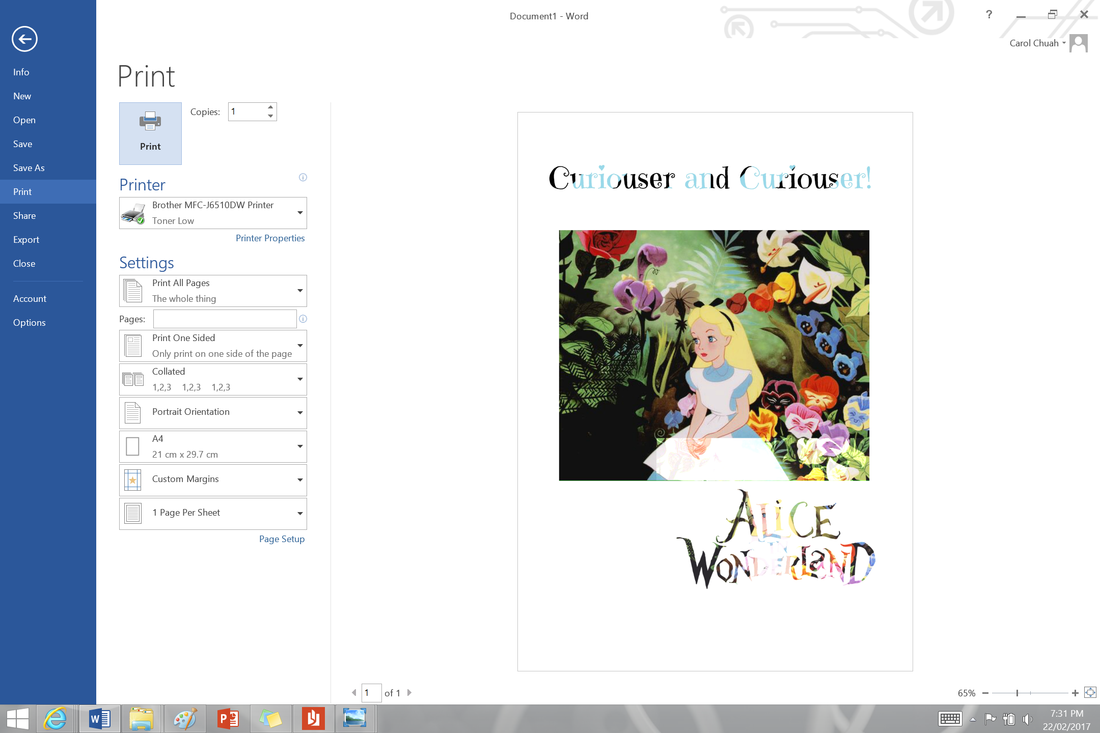
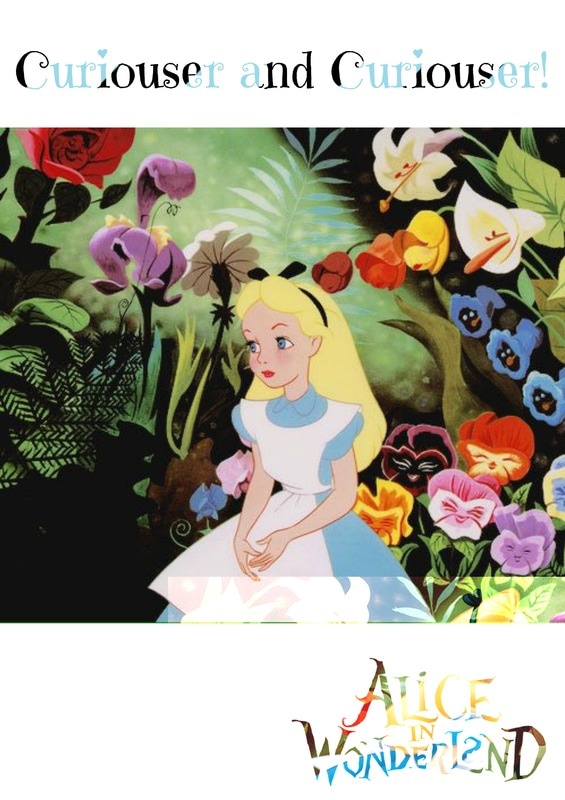
To get back to the thrill of Uni, I decided to make my own notebook covers. I decided to use PicMonkey, which is a free online photo editing program that is easy and simple to use! Materials: - Laptop with internet access - PicMonkey link: https://www.picmonkey.com/ - Google images, book quotes, etc. - Word document (Microsoft Word) - Printer Optional: Paint **for the images, I would recommend using .PNG images - these images use lossless compression, meaning no image data is lost when saving or viewing the image. This is a better quality images, as opposed to a .JPG. Steps: 1. Gather images you would like to put on your cover. I would recommend saving it in a folder for quick and easy access. 2. Open PicMonkey and go to Design tab. For an A4 portrait cover, create your own custom canvas - type in 3480 x 3508 pixels. 3. Click on the Butterfly icon in the left tab and click on "Add your Own", add photos from My Computer. Select the image you want. (note: any pictures we add, we are going to use this Butterfly icon). -this is used to layer images. 4. Insert any text (Alice in Wonderland -from my computer) using the Butterfly icon. I also inserted the first picture again, as I wanted to use it for the background of the text. Drag it over the text and on the Overlay change the Blend modes to "add". 5. Add other text or images. I decided to insert words from PicMonkey. Click on the "Tt" icon and select font, I went with Emily's Candy. For the background, I wanted to have a striped pattern, so I created the black and blue stripes in Paint (save it as .PNG). Add it using the Butterfly icon and repeat step 4. 6. When you are finished, save it. At the end of the file name, ADD ".jpg". Finally, insert it in Microsoft Word and print. Other ideas for book covers:
0 Comments
|
AuthorMy name is Cat and I love to hand sew plushies. I also love to try different things. ArchivesCategories |


 RSS Feed
